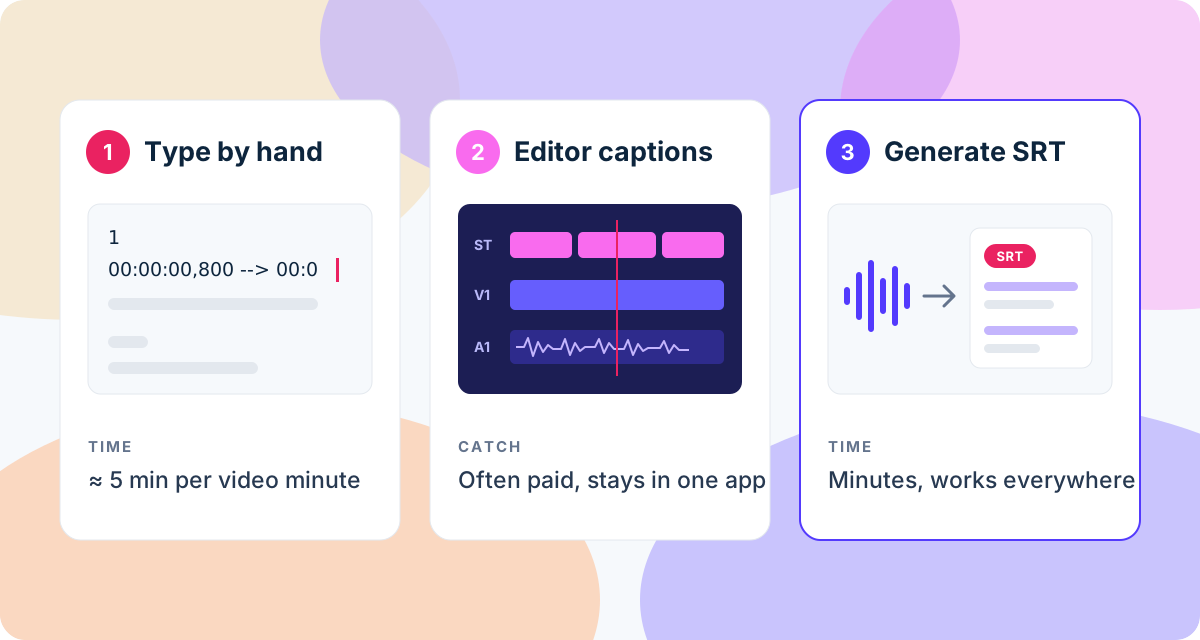
Subtitles used to mean an afternoon of pausing, typing and rewinding. Today there are three practical ways to make them, and the right one depends on how long the video is and where it is going. This guide walks through each, then covers what to do with the finished file.
What a subtitle file actually is
Whichever way you make them, you end up with the same thing: a list of lines of text, each with a start time and an end time. The most common format, SRT, looks like this:
1
00:00:00,800 --> 00:00:03,200
Hi, and welcome back to the channel.

2
00:00:03,400 --> 00:00:06,100
Today we are making subtitles.
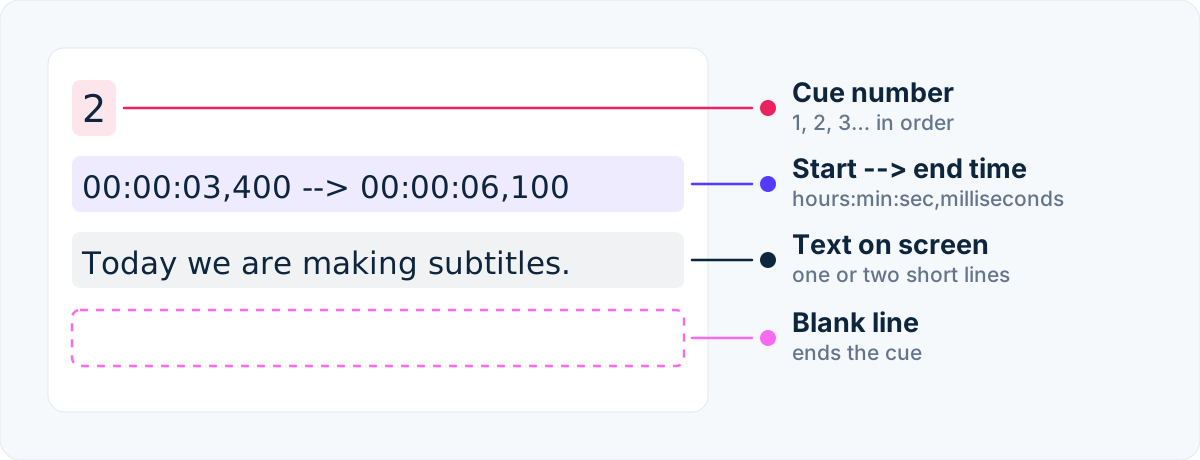
That is all. A number, a time range, the words, a blank line. Once you have this file, every platform and editor knows what to do with it. SRT vs VTT explains the other common format and when you need it.
Way 1: type them by hand
Open a text editor, play the video, and write each line with its timecode.
- Good for: a 30-second clip, a short intro, a text that must be word-perfect from the start.
- Time: expect four to six minutes of work for every minute of video. Finding the timecodes is the slow part.
- Tip: a free subtitle editor such as Subtitle Edit or Aegisub shows the waveform and lets you set times by clicking, which is much faster than typing timestamps.
For anything longer than a couple of minutes, typing by hand is the slowest option by far.
Way 2: use your video editor's auto captions
Most editors now have a built-in "auto captions" or "speech to text" button. It works well when it is available, but often it is not:
- Some editors keep automatic captions for a paid plan or a paid edition. In the free DaVinci Resolve, for example, the subtitles track is free but creating subtitles from audio is not. See how to add subtitles in DaVinci Resolve for free.
- Captions made in one app stay in that app. If you switch editors or also want the text on YouTube, you start again.
- On phone editors, the captions are usually burned into the export, so there is no subtitle file to reuse.
Way 3: generate a subtitle file automatically
A subtitle generator listens to the audio, writes down the words and times them for you. You get a file you can use anywhere, including in the editor of your choice.
With ToneLark it works like this:
- Create a free account. Email or Google, no card.
- Upload the video or audio. MP4, MOV, MKV, WebM, MP3, M4A, WAV and more, up to 2 GB.
- Wait a few minutes. The spoken language is detected automatically. You get an email when the subtitles are ready.
- Download SRT or VTT. Both are made from the same timing.
- Read it once. Fix names and rare words in any text editor. Usually a handful per video.
That is the approach in convert MP4 to SRT, and it also works for audio files such as podcasts. The free automatic subtitle generator page has the details and limits.
Which way should you pick?
| Your situation | Best option |
|---|---|
| Clip under a minute, text must be exact | Type by hand |
| You edit in one app and it has free auto captions | Editor auto captions |
| You need the file on YouTube, a website or in another editor | Generate an SRT |
| Long video, podcast, interview, course lesson | Generate an SRT |
| TikTok, Reels or Shorts | Generate, then burn in |
Make the subtitles more accurate
Automatic subtitles are only as good as the sound. A close microphone, a quiet room and music kept well under the voice remove most corrections before they happen. The seven audio tips for accurate automatic subtitles cover what makes the biggest difference.
What to do with the subtitles
- YouTube: upload the SRT as a subtitle track. Step by step in how to add an SRT file to YouTube.
- Your website: use the VTT file with the HTML5 video player, see VTT subtitles for HTML5 video.
- Social media: burn the captions into the picture, because most people watch muted. See captions for TikTok and Reels and burn subtitles into a video.
- An MP4 for a player or a TV: put the SRT next to the video with the same file name, or follow add subtitles to an MP4.
If the text shows up too early or too late after you edit the video, fix out-of-sync subtitles explains how to shift or regenerate them.